
If AI Can Make A Doofus Like Me Sound Interesting, What Can't It Do?!
I recently discovered an incredible new feature of Google's NotebookLM that can generate a conversational podcast about ANYTHING. To truly challenge it, I picked the most mundane topic I could think of: me!
Piranha CMS: Customizing the Model with Regions and Fields
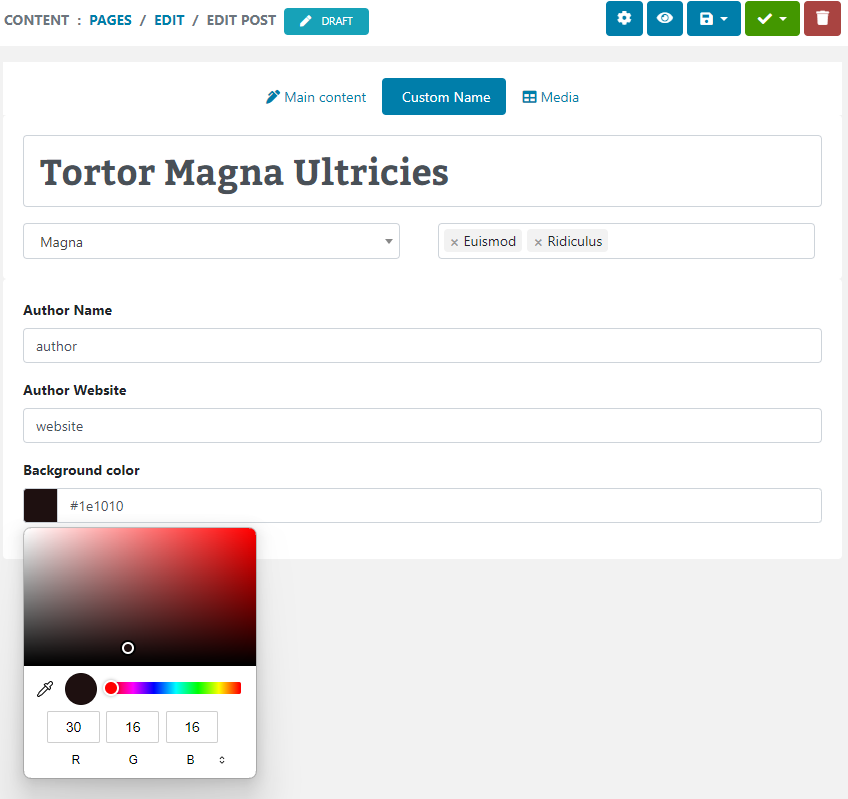
Discover how easy it is to add fields to your custom types in Piranha CMS using Regions.
Piranha CMS: Working with Default and Custom Routing
Routing your custom pages and posts to their own handlers provides a unique layout for each of your custom types.

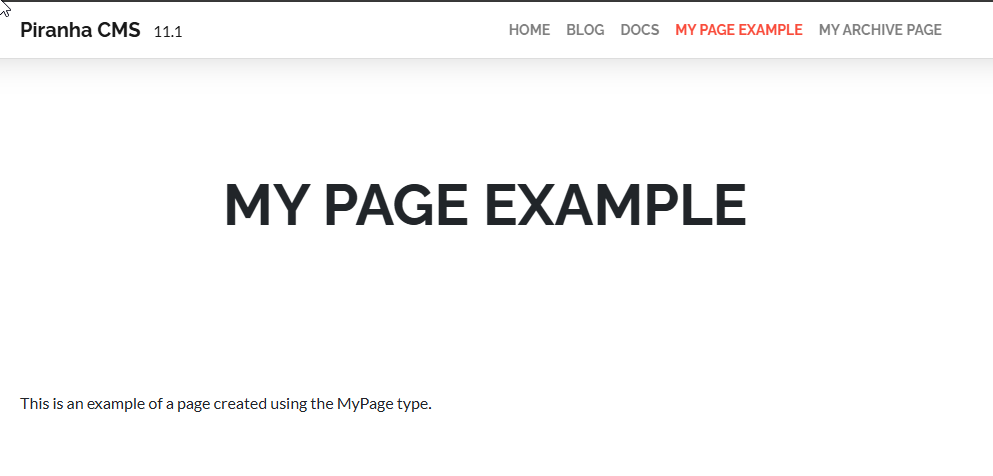
Piranha CMS: Working with Models and Creating Custom Types
Easily create custom types for pages, posts, and archives to serve different kinds of content on your site.

Getting Started with Piranha CMS
See how easy it is to install and get started with Piranha CMS using Razor pages in ASP.NET Core!
My Journey to Piranha CMS
From raw html to wordpress to Sitefinity and back, my site has used a variety of frameworks and applications to manage content. See how I ended up with Piranha CMS and why it's now the current one to beat!

I'm Back, 2024 Edition!
After three years on hiatus, life is finally giving me some time to do things, and one of those things is writing!

Restarting a Specific Azure Web App Instance
The Azure Portal allows you to restart a specific instance in your App Service, but how do you know which one is which? Read on for a helpful tip!

Adding Ratings and Reviews to Sitecore Commerce with YotPo
With a free YotPo account and some simple code, you can easily add a star ratings widget to Sitecore.
