This post is part of a series exploring my migration from Sitefinity 3 to 4.4. Some of this information may become obsolete as newer versions are released. Always watch the official Sitefinity website for the latest info.
In addition to upgrading the underlying platform running this site, I thought I was about due for a design change as well.
The new theme for this website is actually a template I purchased from ThemeForest, a fantastic resource for web and CMS templates. ThemeForest is part of Envato, which offers many different sites for different resources, including stock music, graphics, and in depth tutorials on a variety of subjects.
Most ThemeForest themes usually include a dedicated version for popular software such as Wordpress. However, because Sitefinity uses standard master pages, I instead only needed the basic html package (by the way, Bolder is the theme I'm using). This has the advantage of being less expensive, plus allows me to fully customize the theme and layout for my needs.
Migrate First, Then Update
While I could have modified the old version of the site and imported that, I really wanted to take advantage of the new layout editor, which allows you to create content-ready custom layouts on the fly. If I updated my theme before migration, I'd have to update each master page individually, then try to refactor that after migration into the new template system.
Instead, I migrated all the pages as-is so that I could then create a new, single master page using the new theme. Then I can use the layout templates to create sub-templates based on that master page file.
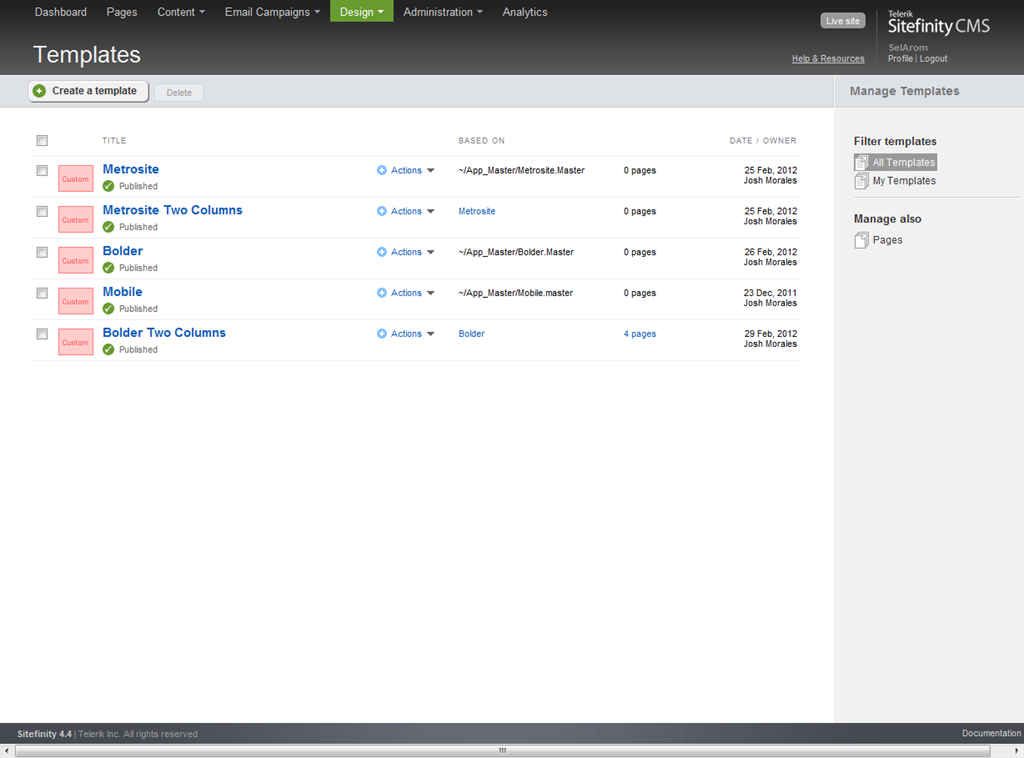
By using the new Custom Layout Editor I can create columns on the fly, while using the CSS classes that are already defined for such elements in the site theme.
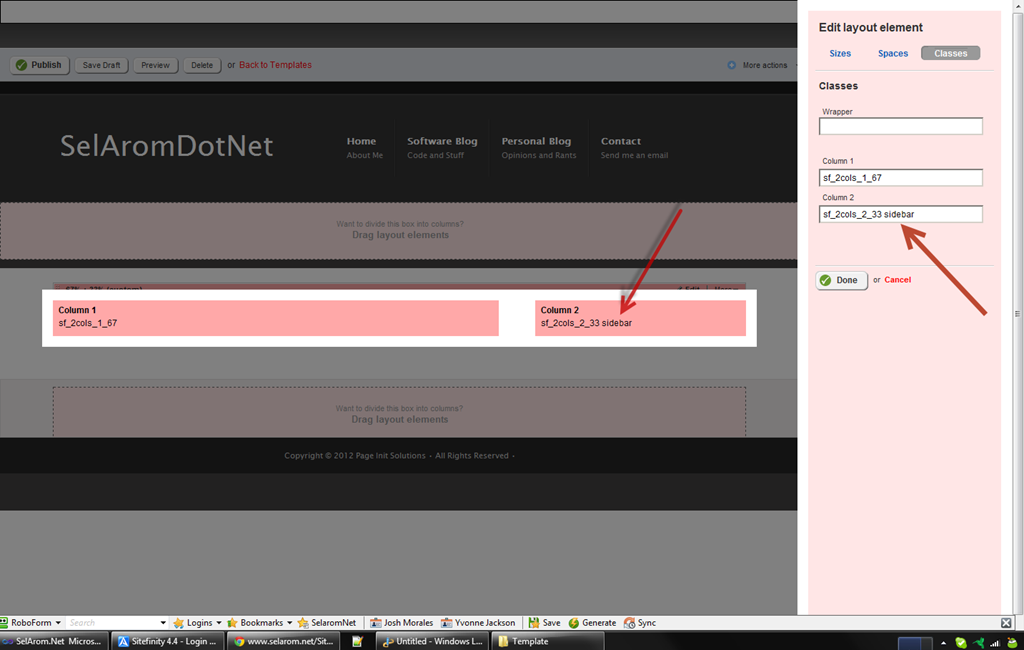
Once that was done, I was easily able to reassign each page to use the new template. Note that when you do this, it creates a draft of the change, and you need to go into each page to reposition each widget into the content placeholders of the newly selected template.
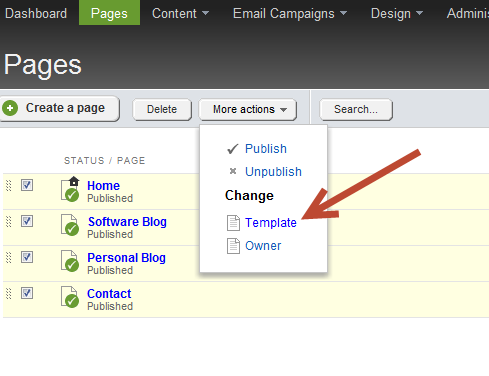
From there it was just a matter of styling a few more things like widget templates and the design was complete. Couldn't be simpler thanks to Sitefinity's use of native ASP.NET elements like Master Pages and Themes.
Page and Content Urls
In addition to the themes and templates, the Sitefinity Migration Module also imports all pages and content items, and keeps all properties, including Urls intact.
However, this also means it keeps the .aspx extensions and date formatting of the old site, which is different from the way Sitefinity now handles these.
We'll take a look at how this affected my migration, and what I did to resolve it in the next post.
Enjoyed this post and/or found it useful?


