In our last post we looked at working with Models and Custom Types in Piranha CMS. Defining new types is a snap using the convention of inheritance from the base supported types.
Unfortunately, although we were easily able to define new types and create content in the manager for them right away, we weren�t able to see them on the frontend, as navigating to the URL for the custom content resulted in a 404 error.
In this post, we�ll take a closer look at the Piranha CMS conventions around routing, and how we can leverage default and custom routes to allow us to resolve this issue and see all of the different types of content we create.
Routing Conventions in Piranha CMS
Internally, Piranha CMS has a default route setup for each supported type so that any requests for that type will go to the appropriate Razor Page handler. The default paths are intuitively mapped using the following conventions:
| Content Type | Route Path |
|---|---|
| Page | /page |
| Archive | /archive |
| Post | /post |
If you open up the Visual Studio solution, you�ll see these Razor pages already setup at those paths, which is why the default sample models and their content work out of the box:

The internal routing convention is clever enough to read the full URL/slug for any page or post and convert it into a route to the appropriate Razor page handler. This not only loads the proper page to render it, but also populates the model appropriately with the expected data to render it.
The internal default routing will always default to these paths if no custom routing is defined, which we haven�t done (yet!).
So if that's the case, why didn�t this work for our custom types we created in the last post?

The answer to that is due to the way the template generates the sample code for the project.
Piranha CMS Convention for Razor Page Models
Open up the Razor cshtml file for any one of the provided sample pages and take note of the @model type it uses. Here for example is the relevant part of the Page.cshtml file:
@page
@using Piranha.Models
@model SinglePage<StandardPage>
@{
ViewData["Title"] = !string.IsNullOrEmpty(Model.Data.MetaTitle) ? Model.Data.MetaTitle : Model.Data.Title;
var hasImage = Model.Data.PrimaryImage.HasValue;
}
@section head {
@WebApp.MetaTags(Model.Data)
}
The model in this case is configured specifically for use with the StandardPage type defined in the project. This model will obviously work with all the pages created from that StandardPage type. However, the custom type we created is MyPage.
So although internally, Piranha does indeed route this to the same Page.cshtml handler, the types don�t match and it fails the request with a 404 status.
We could fix this by changing the type to SinglePage

Ideally, we would probably want to use separate page handlers for each of the different types, but we are going to explore that in a future post in more detail. Instead, for now, let�s fix this so that same default route and page handler will serve all content of their associated type.
To do that, we simply need to change the model to use the base type of each model, either PageBase or PostBase, depending of course on the content type. This will ensure the page can handle any derived type!
@page
@using Piranha.Models
@model SinglePage<PageBase>
@{
ViewData["Title"] = !string.IsNullOrEmpty(Model.Data.MetaTitle) ? Model.Data.MetaTitle : Model.Data.Title;
var hasImage = Model.Data.PrimaryImage.HasValue;
}
@section head {
@WebApp.MetaTags(Model.Data)
}
Important Note: Because Archive is a special type of Page, there isn�t an equivalent ArchiveBase we can use.
Instead, update the model on that page to use the PageBase instead of the StandardArchive:
@page
@using Piranha.Models
@model ArchivePage<PageBase, Piranha.Models.PostInfo>
@{
ViewData["Title"] = !string.IsNullOrEmpty(Model.Data.MetaTitle) ? Model.Data.MetaTitle : Model.Data.Title;
var hasImage = Model.Data.PrimaryImage.HasValue;
var posts = Model.Archive.Posts.Count;

Func<string> BlogLink = () => {
    return Model.Data.Permalink
        + (Model.Archive.Category != null ? $"/category/{Model.Archive.Category.Slug}"  : "")
        + (Model.Archive.Year.HasValue ? $"/{Model.Archive.Year}" : "" )
        + (Model.Archive.Month.HasValue ? $"/{Model.Archive.Month}" : "");
};
}
Updating each page template to use the base instead finally reveals both the standard and custom pages and posts we created!
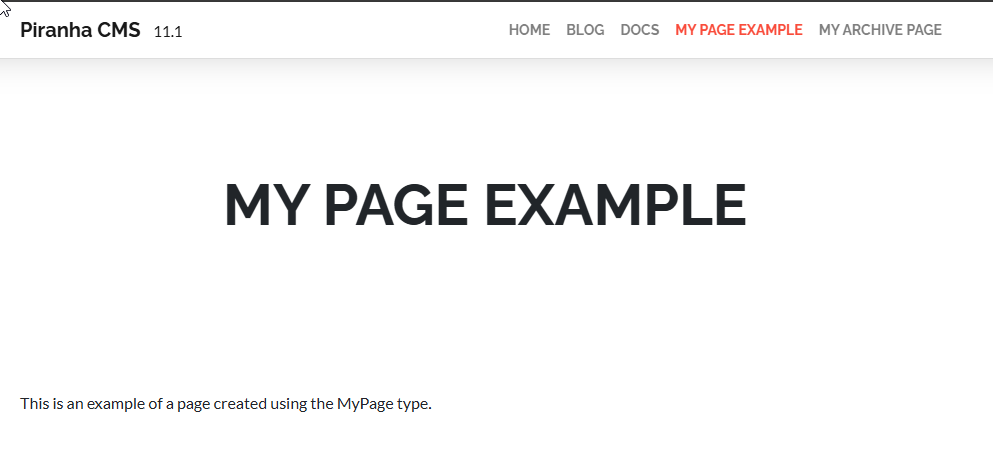
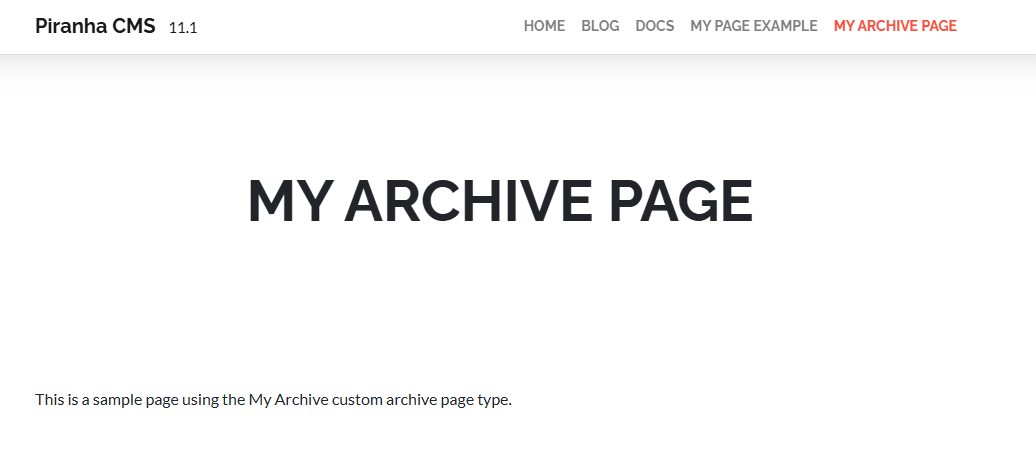
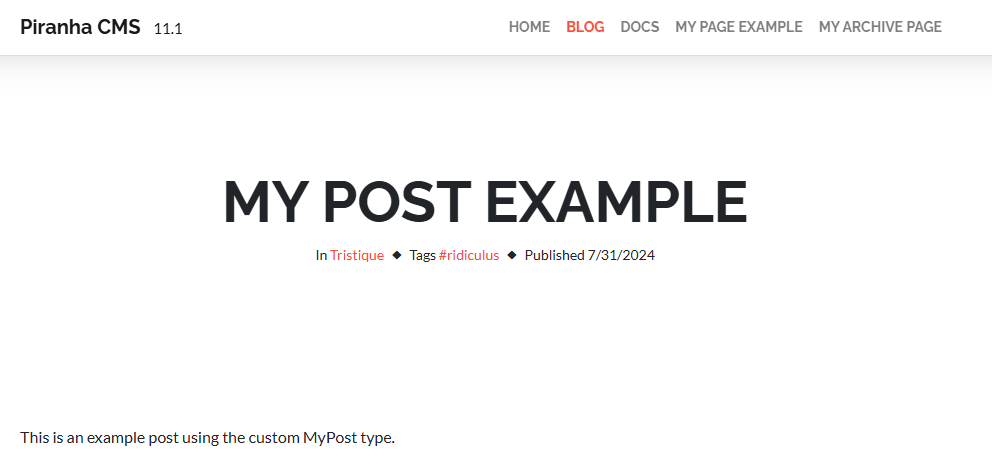
Obviously, this doesn�t seem to be of much practical use now since, other than the type names, the rendered pages and posts are identical.
Different content types generally are going to need their own layout and markup to differentiate them from each other, otherwise, what is the point of having different types?

Fortunately, supporting different page handlers for different types simply requires that we define custom routes.
Custom Routing with Piranha CMS
Remember that, by default, Piranha routes to the fixed paths of /page, /post, and /archive, depending on the type being rendered. To override this behavior, you simply need to specify the route using the ContentTypeRoute attribute on the custom type:
[PageType(Title = "My page")]
[ContentTypeRoute(Title = "Default", Route = "/mypage")]
public class MyPage : Page<MyPage>
{
}
Now, for all of these types, the handler will route to the specified path instead of the default.
Of course, you also need to create a page at that path, which I�ve done by duplicating the Page.cshtml file, naming it MyPage.cshtml, and adding some custom markup to differentiate it:
@page
@using Piranha.Models
@model SinglePage<MyPage>
@{
ViewData["Title"] = !string.IsNullOrEmpty(Model.Data.MetaTitle) ? Model.Data.MetaTitle : Model.Data.Title;
var hasImage = Model.Data.PrimaryImage.HasValue;
}
@section head {
@WebApp.MetaTags(Model.Data)
}
<header @(hasImage ? "class=has-image" : "") @(hasImage ? $"style=background-image:url({ @Url.Content(WebApp.Media.ResizeImage(Model.Data.PrimaryImage, 1920, 400)) })" : "")>
<div class="dimmer"></div>
<div class="container text-center">
<h1>My Page: @Model.Data.Title</h1>
@if (!string.IsNullOrWhiteSpace(Model.Data.Excerpt))
{
<div class="row justify-content-center">
<div class="col-lg-8 lead">
@Html.Raw(Model.Data.Excerpt)
</div>
</div>
}
</div>
</header>
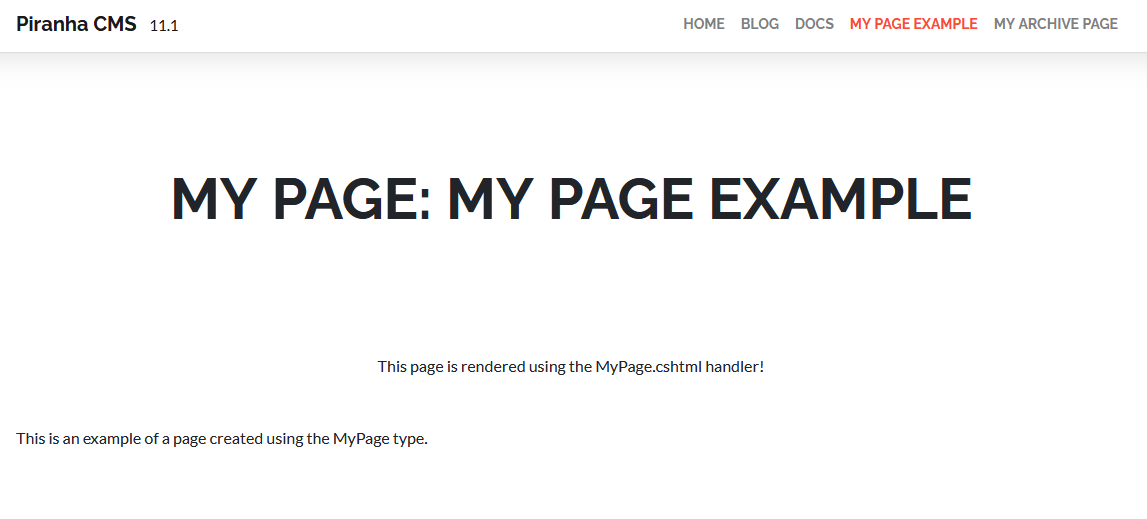
<p class="text-center">This page is rendered using the MyPage.cshtml handler!</p>
<main>
@foreach (var block in Model.Data.Blocks)
{
<div class="block @block.CssName()">
<div class="container">
@Html.DisplayFor(m => block, block.GetType().Name)
</div>
</div>
}
</main>
Notice that in this case, I restored the @model from the base type we used above to the fully typed MyPage, since this handler is specifically for that type. You can likewise restore the StandardPage type on the Page.cshtml model to ensure it also only renders the expected type.
Now that our custom routing is in place, our custom page type is now served with the new handler and different markup:
You can do the same with Posts and Archives, ensuring that all of your custom types can have their own handlers, layouts, and markup!

For more information, including how to pass custom parameters to your handlers, see the official documentation on Routing and Advanced Routing.
Wrapping Up and Next Steps
In this post we saw how the default routing in Piranha maps the supported page and post types to their appropriate handlers for rendering. Out of the box, the generated project is configured to only work with the example types it creates.
By using the base types instead of the generated example types on the Razor page handlers, we were able to serve all of the different types with the associated page handler.
Finally, by leveraging Piranha�s custom routing attributes, we can assign different handlers for each of our types so they have their own page layout and markup.
However, in order to really make use of custom types, we need to differentiate them from each other so they can represent different types of content. This is where Custom Fields and Regions come into play, and is the subject of our next post.
Until then, as always, I hope this was helpful, and thanks for reading!